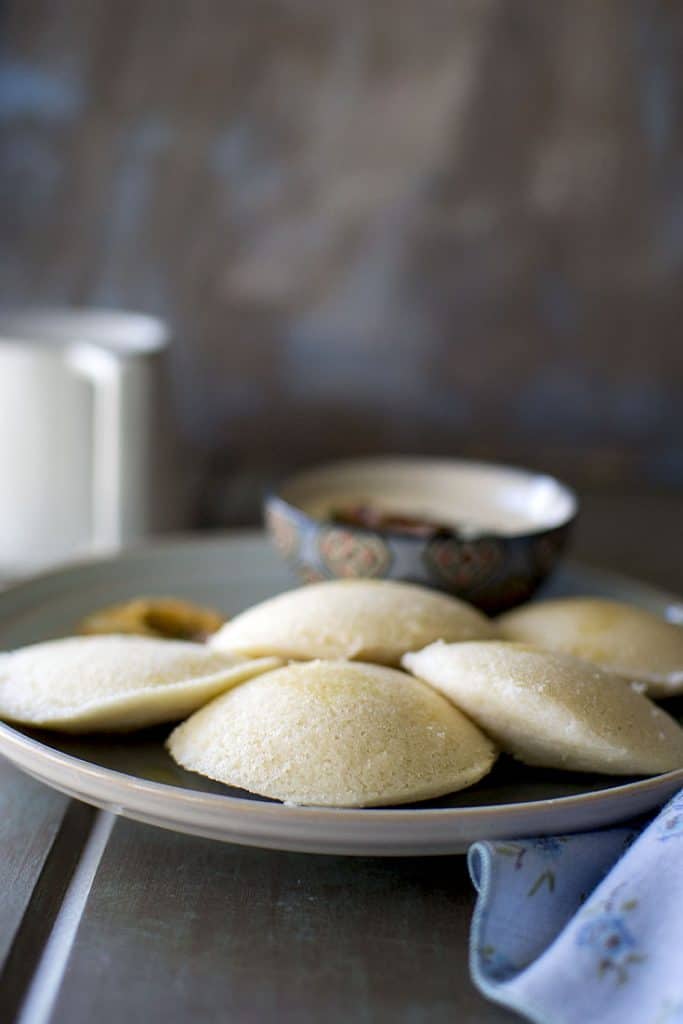
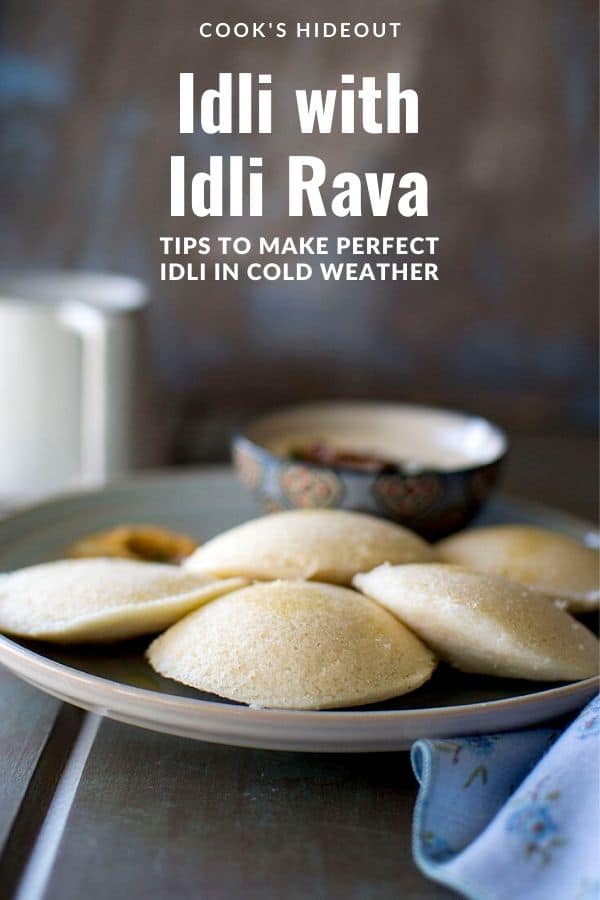
Recipe to make soft Idli with Idli rava. Serve with Coconut Chutney for a delicious breakfast. Also tips to make perfect fluffy idli in cold weather.
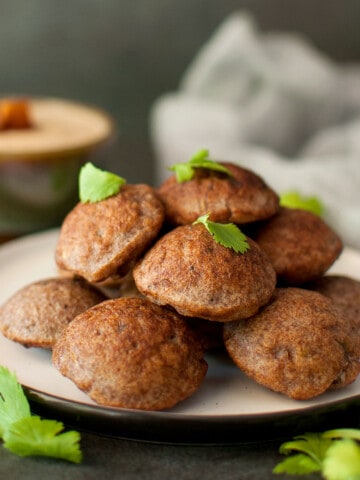
Idli is a quintessential South Indian breakfast. Most south Indians make idli batter every week to make fresh idli for breakfast. The same batter can be used to make other breakfast/ snack items like Uthappam/ Ponganalu (Paniyaram) etc. So it's definitely worth it to have batter on hand in the fridge all the time.
How to make Idli?
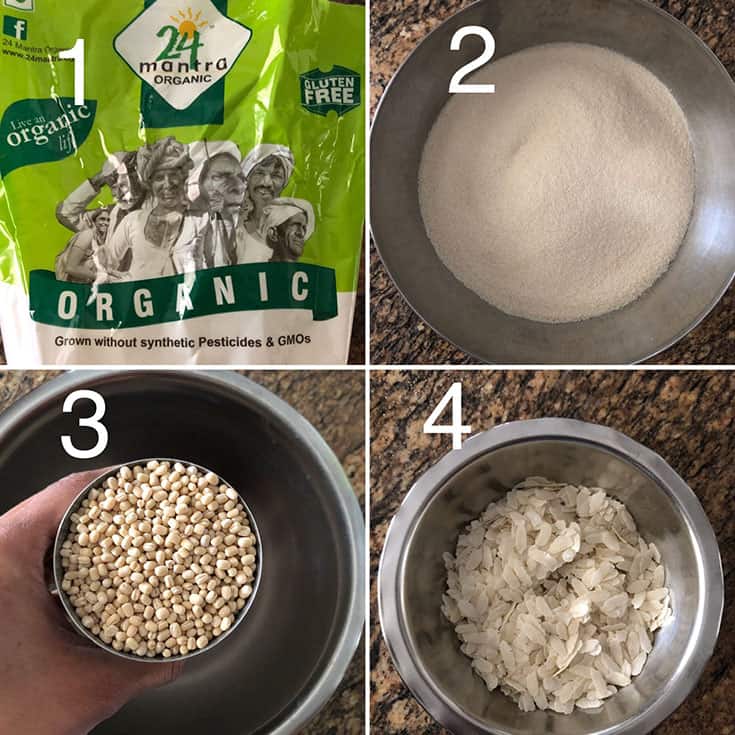
Urad dal is the main ingredient. To that either idli rice (parboiled rice) or idli rava can be added. Urad dal and rice/ rava are soaked for at least 4~6 hours. Then both of them are ground separately until very smooth. They are combined together by hand to form a well mixed batter. The batter needs to set aside until fluffy and fermented. Step by step photos from 1~
My mom has always made idli with idli rava - I think most Andhra families do that - correct me if I'm wrong. One advantage of using rava is it does not need to be ground. It needs to be soaked for a few hours and then it can added to the ground urad dal.
Few brands of Idli rava in the US are coarser than the one available in India. If that is the case, then make sure to run it in the blender to make it a little smooth before adding to the batter.
Tips to ferment batter to make Soft Idli in Cold Weather:
I have lived most of my adult life in the Northeast US and making soft and fluffy has always been a challenge, especially in the dead of winter. It typically takes about 5~8 hours to ferment in warm Indian weather (above 85°F).
But with average indoor temperatures of 68~74°F in the US, it is almost impossible to get the same results. Initially I was so discouraged that I stopped making idli for many years. But I after many many trial and errors here are some of my tips that have worked to successfully ferment the batter:
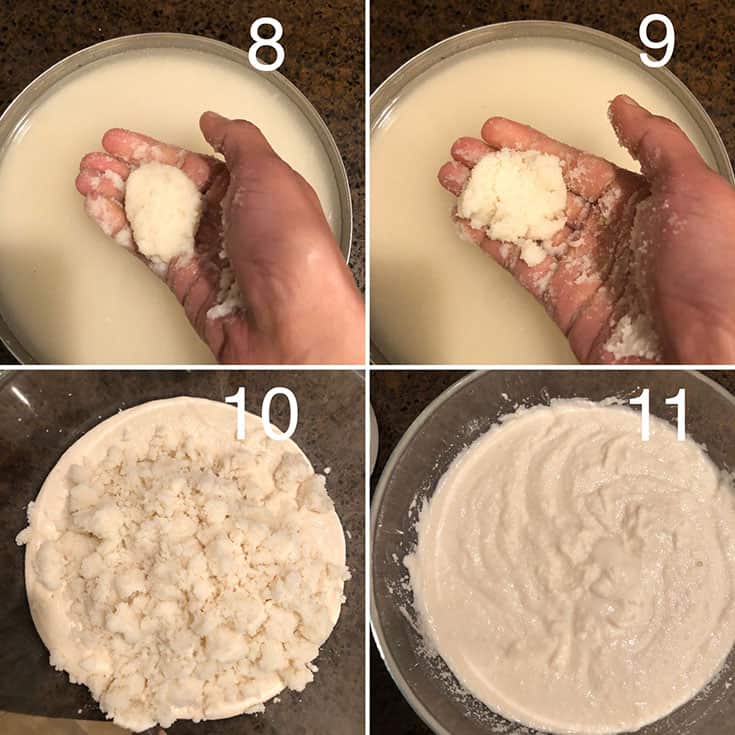
- Make sure to use your hands to mix the batter - this helps in kick starting the fermentation process.
- Do not add salt to the batter - salt slows down fermentation.
- Do not add too much after. Keep the batter consistency slightly thick.
- Keeping the batter in a warm environment is key - so keep the batter covered with a plate and then put a kitchen towel or a larger bowl over it.
- BEST TIP - This is from my friend who makes batter every single week. Warm a tawa/ griddle until warm. Turn off the heat, place the batter bowl on top and cover it with another bigger bowl. Place this on one of the back burners on the stove and set aside for 6~8 hours. Make sure not to turn on the burner -- you will have cooked batter and not fermented batter 🙂
- Find a warm spot and away from cold draft of air in the house - on a dryer, near a window that lets in lots of sunlight, near a hot air vent or in an unused microwave.
- Placing the bowl in a slightly warmed and turned off (250°F for about 10 minutes) oven also works.
- Placing the bowl close to the stove while you are cooking.
Even with all of these tips, my batter takes upto 10~12 hours to ferment. Don't worry if it takes a few more hours in your house. Keep checking on the batter every couple of hours to check on the progress.
How to find out whether the batter has fermented or not?
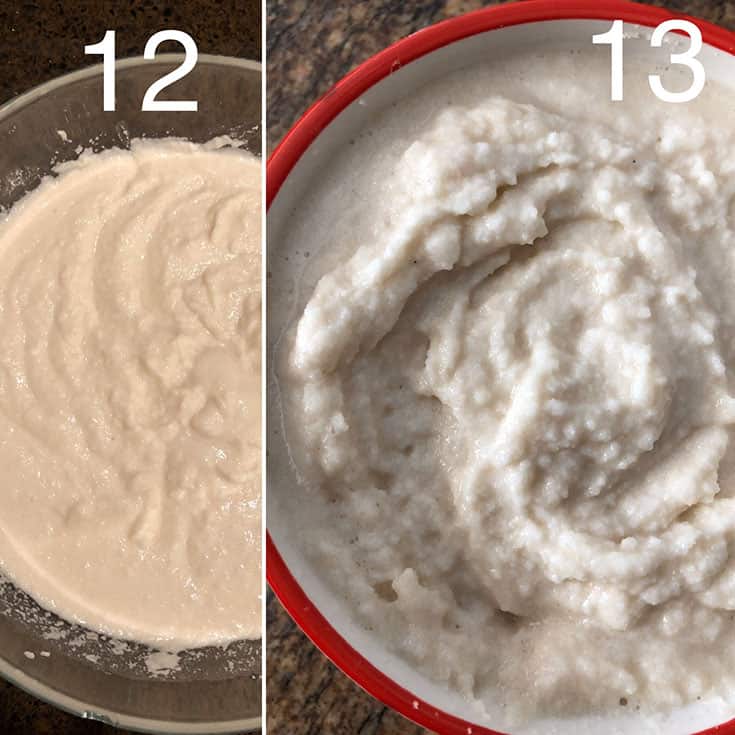
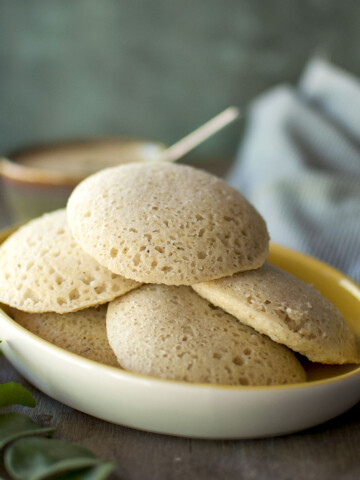
Well fermented batter typically rises in volume. You will see that you have more batter than when you started. About 1~2" above the original start point. Also batter gets airy and fluffy.
In cold weather, sometimes you don't see the batter any difference in the volume even after 12~15 hours of fermentation. But when you mix it, batter will not be as dense and will be airy.
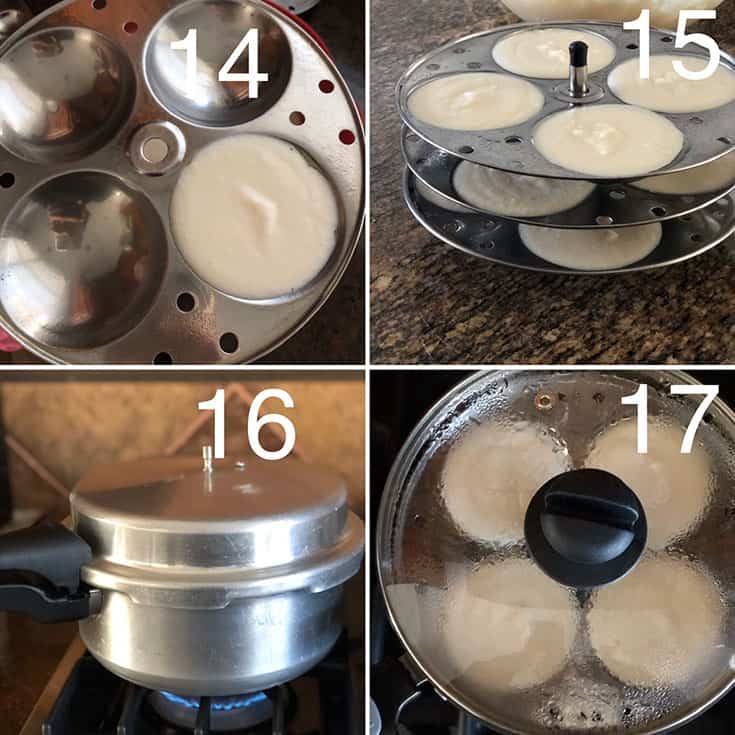
Steaming:
Once the batter has fermented, then add salt and enough water to get it to pouring consistency. If the batter is too thick, idli might turn out hard and dense. Use traditional mold or small bowls (katori) to make individual idli. Steam in a pressure cooker or a steamer for 12~14 minutes.
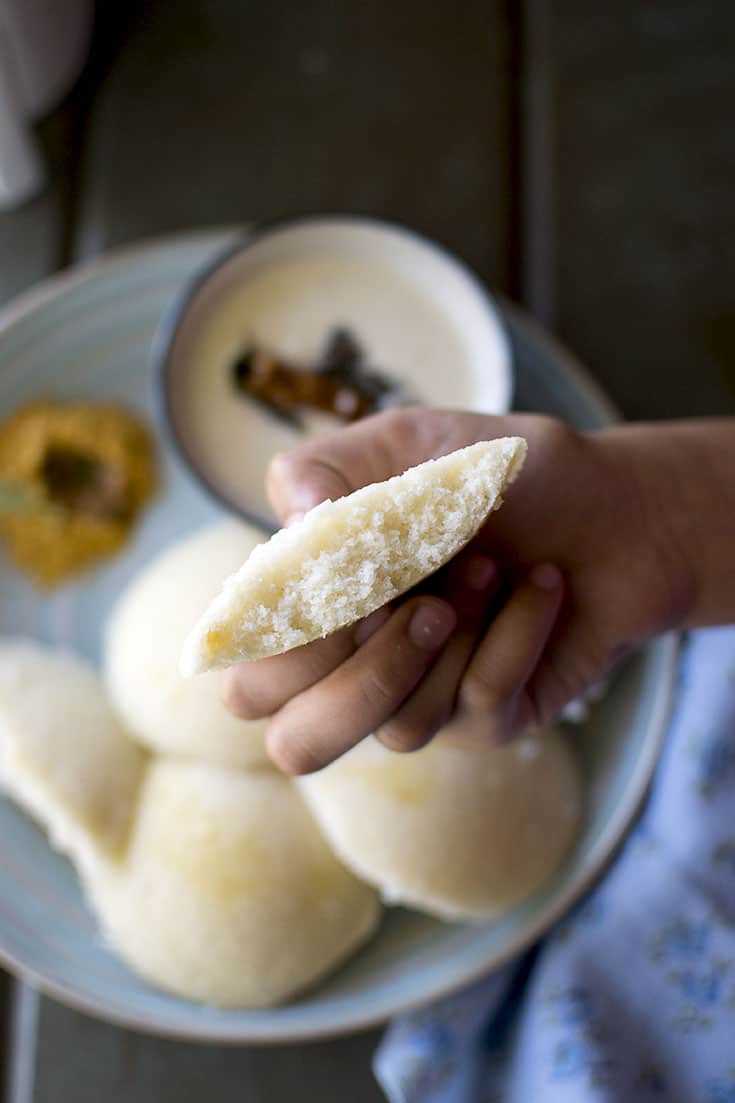
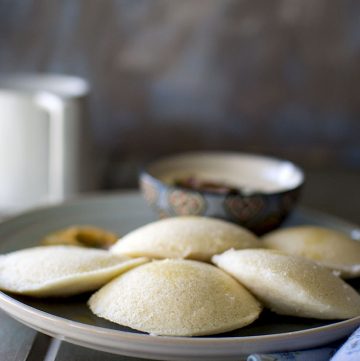
Idli made with Idli Rava and Coconut Chutney
Ingredients
To make Idli:
- 1 cup Urad dal/ Minapappu
- 2½ cups Idli Rava
- ½ cup Poha (flattened rice)
- To taste Salt
To make Coconut Chutney:
- 1 cup Fresh grated Coconut (thaw if using frozen coconut)
- ¼ cup Dalia (Putnala pappu/ Roasted Chana dal)
- 1 tbsp Roasted Peanuts
- 2~3 Green Chilies
- To taste Salt
- 1 tsp Oil
- ½ tsp Mustard Seeds
- ½ tsp Cumin seeds
- 1 Dry Red Chili
- Pinch of Hing/ Asafoetida
- 5~6 Curry leaves
- To taste Salt
Instructions
To Make Idli:
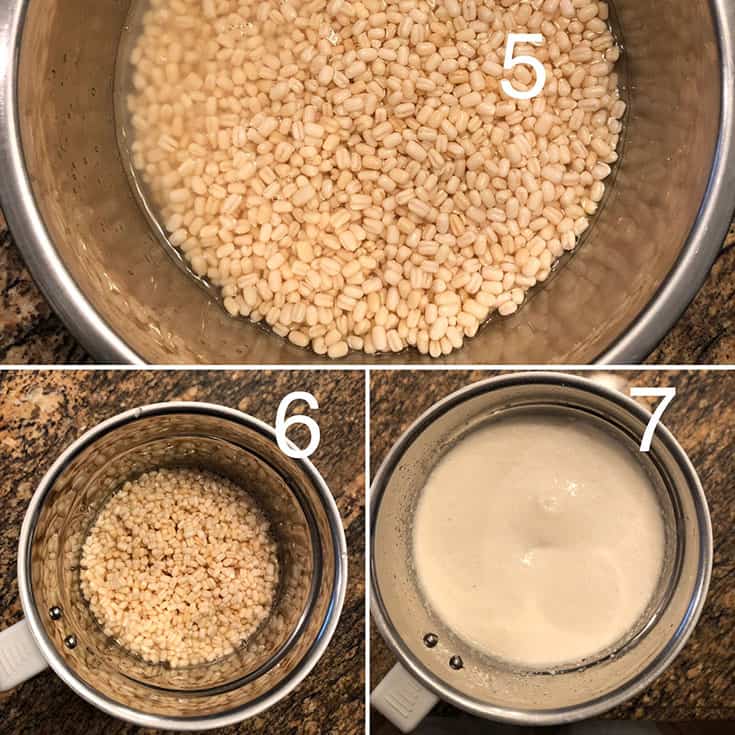
- Soak urad dal and idli rava separately for at least 4 hours. Grind dal into smooth batter.
- Soak poha for 15~20 minutes and grind to a smooth paste. Add to the dal.
- Squeeze water from rawa. Add dal batter and mix well with hand.
- Pour the batter into a large enough bowl. Cover with a plate and then cover it with a kitchen towel.
- Set the batter aside to ferment overnight.
- When ready to make idli, add salt and enough water to make a pourable batter.
- Pour the batter into idli mold and steam for 12-15 minutes.
- Enjoy them hot with a generous drizzle of ghee and yummy coconut chutney.
Make Coconut Chutney:
- Grind all the ingredients for the chutney to a smooth paste.
- Heat 1 tsp oil, add all the ingredients for tempering and once the seeds splutter, add it to the chutney. Mix well and enjoy with idli or even dosa.
Notes
- Make sure to use your hands to mix the batter - this helps in kick starting the fermentation process.
- Do not add salt to the batter - salt slows down fermentation.
- Do not add too much after. Keep the batter consistency slightly thick.
- Keeping the batter in a warm environment is key - so keep the batter covered with a plate and then put a kitchen towel or a larger bowl over it.
- BEST TIP - This is from my friend who makes batter every single week. Warm a tawa/ griddle until warm. Turn off the heat, place the batter bowl on top and cover it with another bigger bowl. Place this on one of the back burners on the stove and set aside for 6~8 hours. Make sure not to turn on the burner -- you will have cooked batter and not fermented batter 🙂
- Find a warm spot and away from cold draft of air in the house - on a dryer, near a window that lets in lots of sunlight, near a hot air vent or in an unused microwave.
- Placing the bowl in a slightly warmed and turned off (250°F for about 10 minutes) oven also works.
- Placing the bowl close to the stove while you are cooking.
Nutrition
Here are a few more tips on making Idli batter using Mixie on Kannamma Cooks site. She has the best advise on how to make the best idli.

How to Serve Idli?
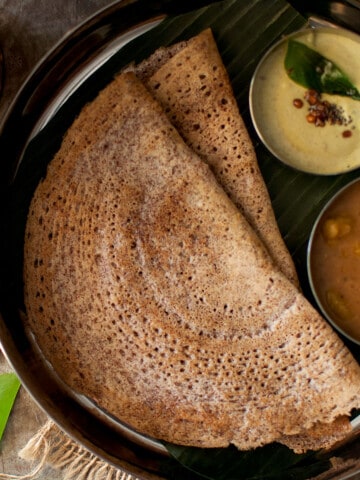
Traditionally idli are coconut chutney (recipe included below), podi and sambar. But I have eaten them with curries or even plain sugar 🙂 Here are a few more side dish ideas:

Padma Veeranki
Totally my kind of breakfast...Yes, Idli with idli rava is very common only in Andhra, It's easy to make and also quick. Loved all the detailed insights you have given...Loovely share!!
Sandhya Ramakrishnan
Idli is such an essential part of the South Indian meal and making it with idli rava is so much convenient. Love the tips for fermenting the batter.
sapana
I have never used idli rava to make idlis. Aftr reading your poast I am tempted enough to try this. It looks so soft and spongy.
Seema Sriram
Idly rava is such a convinence to use. For the cold days when fermentation becomes a problem, idly rava saves the situation every time.
Lathiya
Idlis are a staple in our householdbutnever made with Idli rava though. The idli looks and thanks for sharing useful tips.