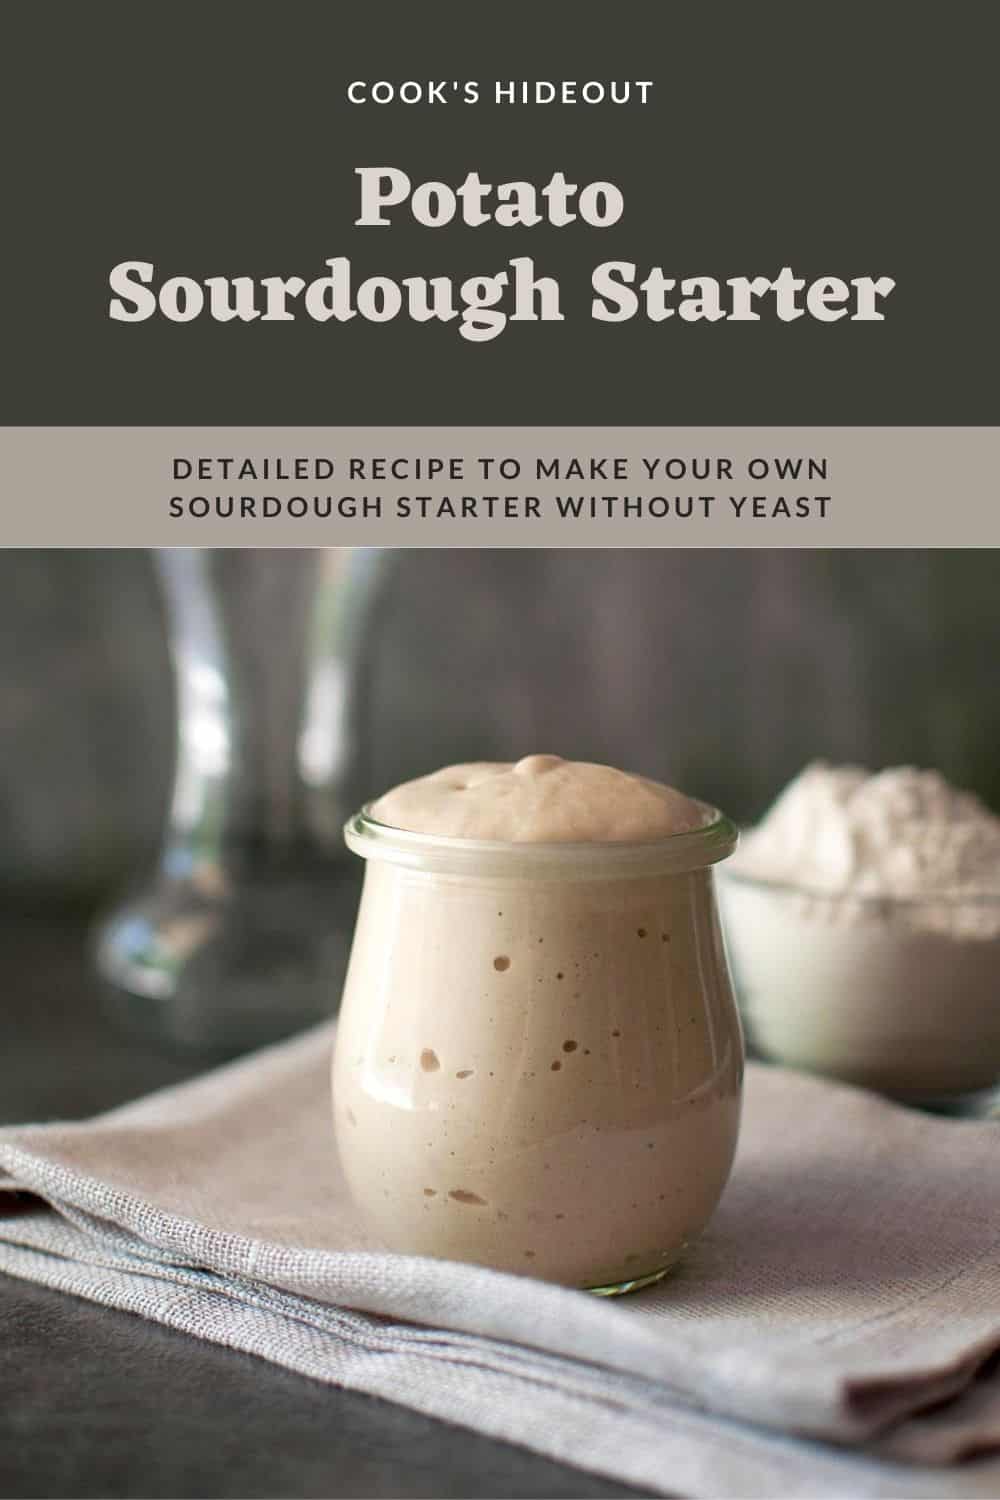
Are you looking for an easy sourdough starter recipe? Then you have come to the right place. You will learn how to make sourdough starter from scratch. My sourdough starter with potato is easy and made without yeast.
I have had my sourdough starter for over 10 years and it is part of my kitchen staples. From all these years, I have learnt a lot about looking after the starter. I have made sure to address all of the basic sourdough questions about feeding, maintaining a starter and so on. Hope you get excited to start your won sourdough adventure!!
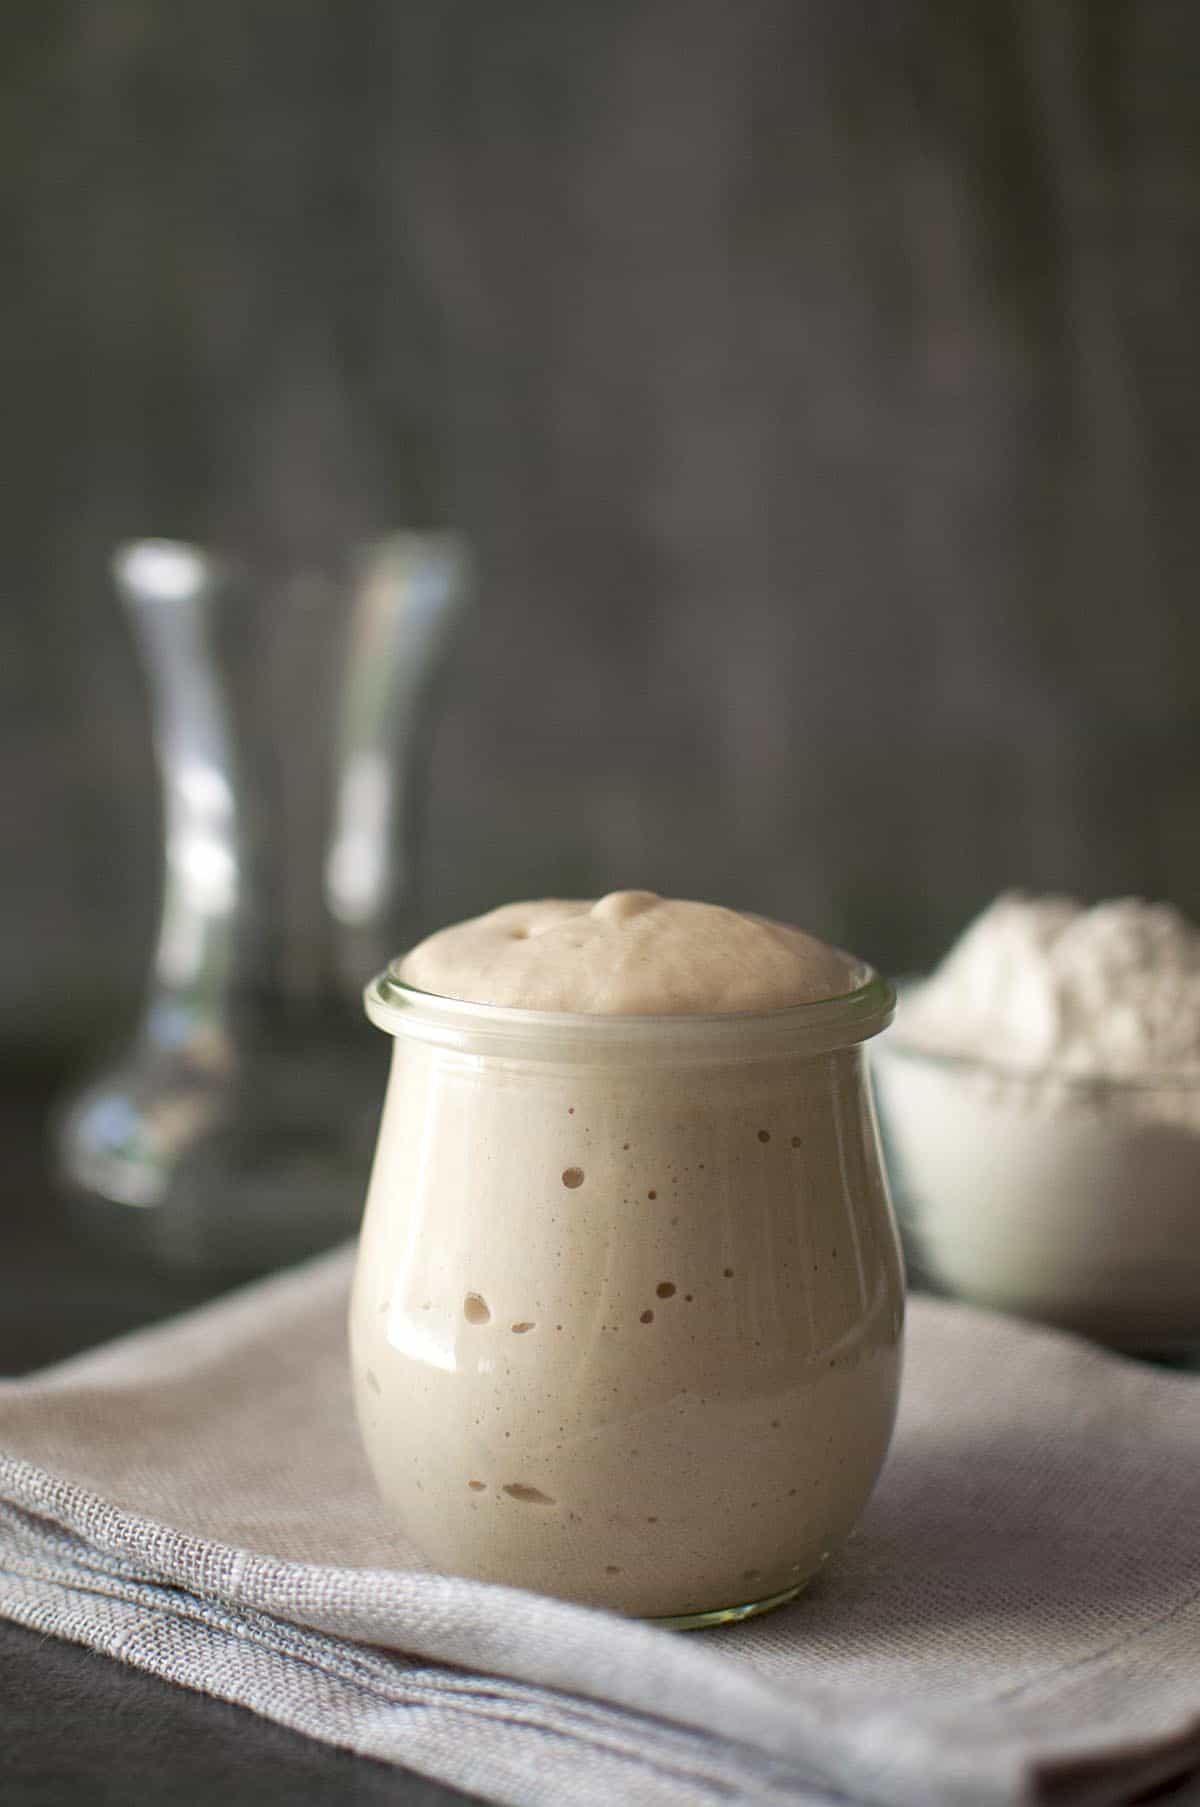
Table of contents
What is Sourdough Starter?
Sourdough, levain, mother, barm, starter - all these are the names for the process by which flour is naturally fermented and leavened into bread. The names sound little mysterious and the whole process of sourdough baking is in itself a wonder.
Without any visible rising agent - no commercial yeast, no baking soda or even eggs. How does the bread rise and where does all that flavor come from? A combination of understanding and experience will bring success in sourdough baking.
Most people think that the difference between sourdough bread and regular bread is the wild yeast. But that is only part of the reason. The complex flavor comes from bacterial organisms, lactobacillus and acetobacillus. They create lactic and acetic acids as they feed off the sugars released from the dough, and are responsible for the sour taste.
The main trick in cultivating a sourdough starter is to feed it regularly with fresh flour and water, thus providing with the nutrients and sugars it needs to stay alive.
My Sourdough Journey
As I mentioned before, I have had my starter for more than a decade now. I made it in a bread baking class at a kitchen specialty store way back in 2011. I brought home the basic flour-potato mixture and fed it for few days until it was bubbly and active. Over the years, I have maintained it and kept it growing. It even relocated twice with me cross country.
I was a novice when I got the starter with absolutely no idea on what to do with it. But I have learnt how to take care of the starter and bake with it. So, this is kind of my sourdough 101 post with things that I have learnt in my sourdough journey.
There is a ton of information on the internet for sourdough starter making, feeding, taking care etc. My suggestion would be to use a good source that you can rely on.
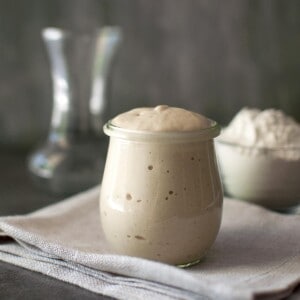
Sourdough Starter with Potato
There are a number of ways of making sourdough starter. You can use just flour and commercial yeast. Or you can buy a starter from a baking supplies store or even get the discard from a friend.
Unlike sourdough starter with potato flakes, this version is made with grated organic potato and bread flour. There is no telltale sign of potato in the starter after it is fed and ripe. I found it very easy to make and it has been quite a champ for all these years.
Important Terms to understand
As part of Sourdough 101, I think it is important to know and understand the below terms:
- Hydration:
- Is the ratio of water to flour in a sourdough starter. It effects the shaping, oven spring, texture, crumb and crust of the bread.
- 100% hydration starter - I keep my starter at 100% hydration which means for every 4 oz. of water in the sourdough starter, there is 4 oz. of flour. So every time you feed the starter you add equal amounts of flour and water to the old dough to keep it 100% hydrated.
- Unfed Starter: Starter straight from the fridge.
- Fed Starter: Starter that is rejuvenated by adding flour and water up to 12 hours before making the bread.
- Discard: Is the sourdough starter that you literally discard before feeding. I generally use 4 oz. (or 113gms or ½cup) of the starter for feeding and the remaining is the 'discard'. You can either throw it away or put to the side for other uses.* Check the Tips section for ideas.
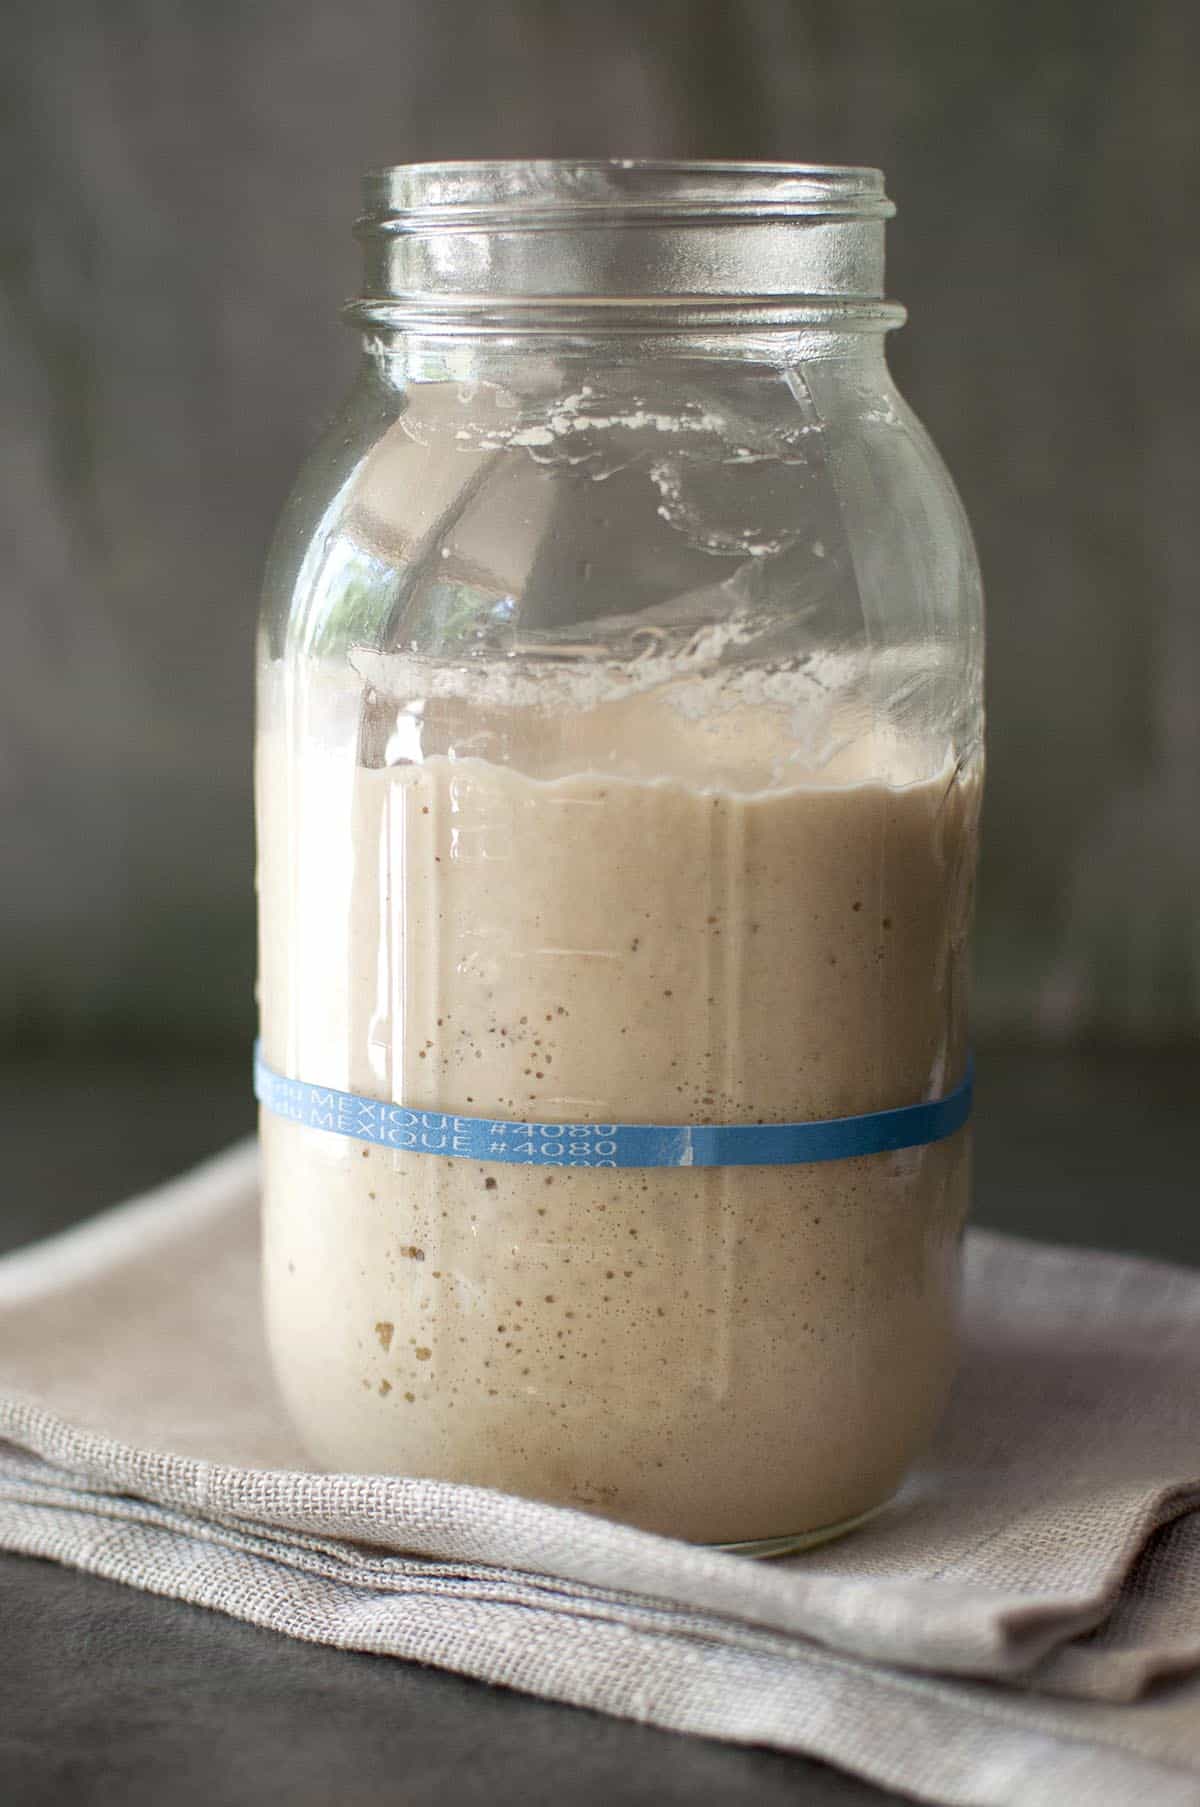
- Hooch: is the liquid that is formed on top of the starter in the jar as it sits. The longer the starter sits without feeding, the darker the color of hooch. But as long it is clear or slightly dark, you can mix it in and use. But if the hooch turns pink, then it is time to toss it and start all over again.
Ingredients
For the details of the exact quantities of each ingredient and the list of ingredients needed, check the printable recipe card below.
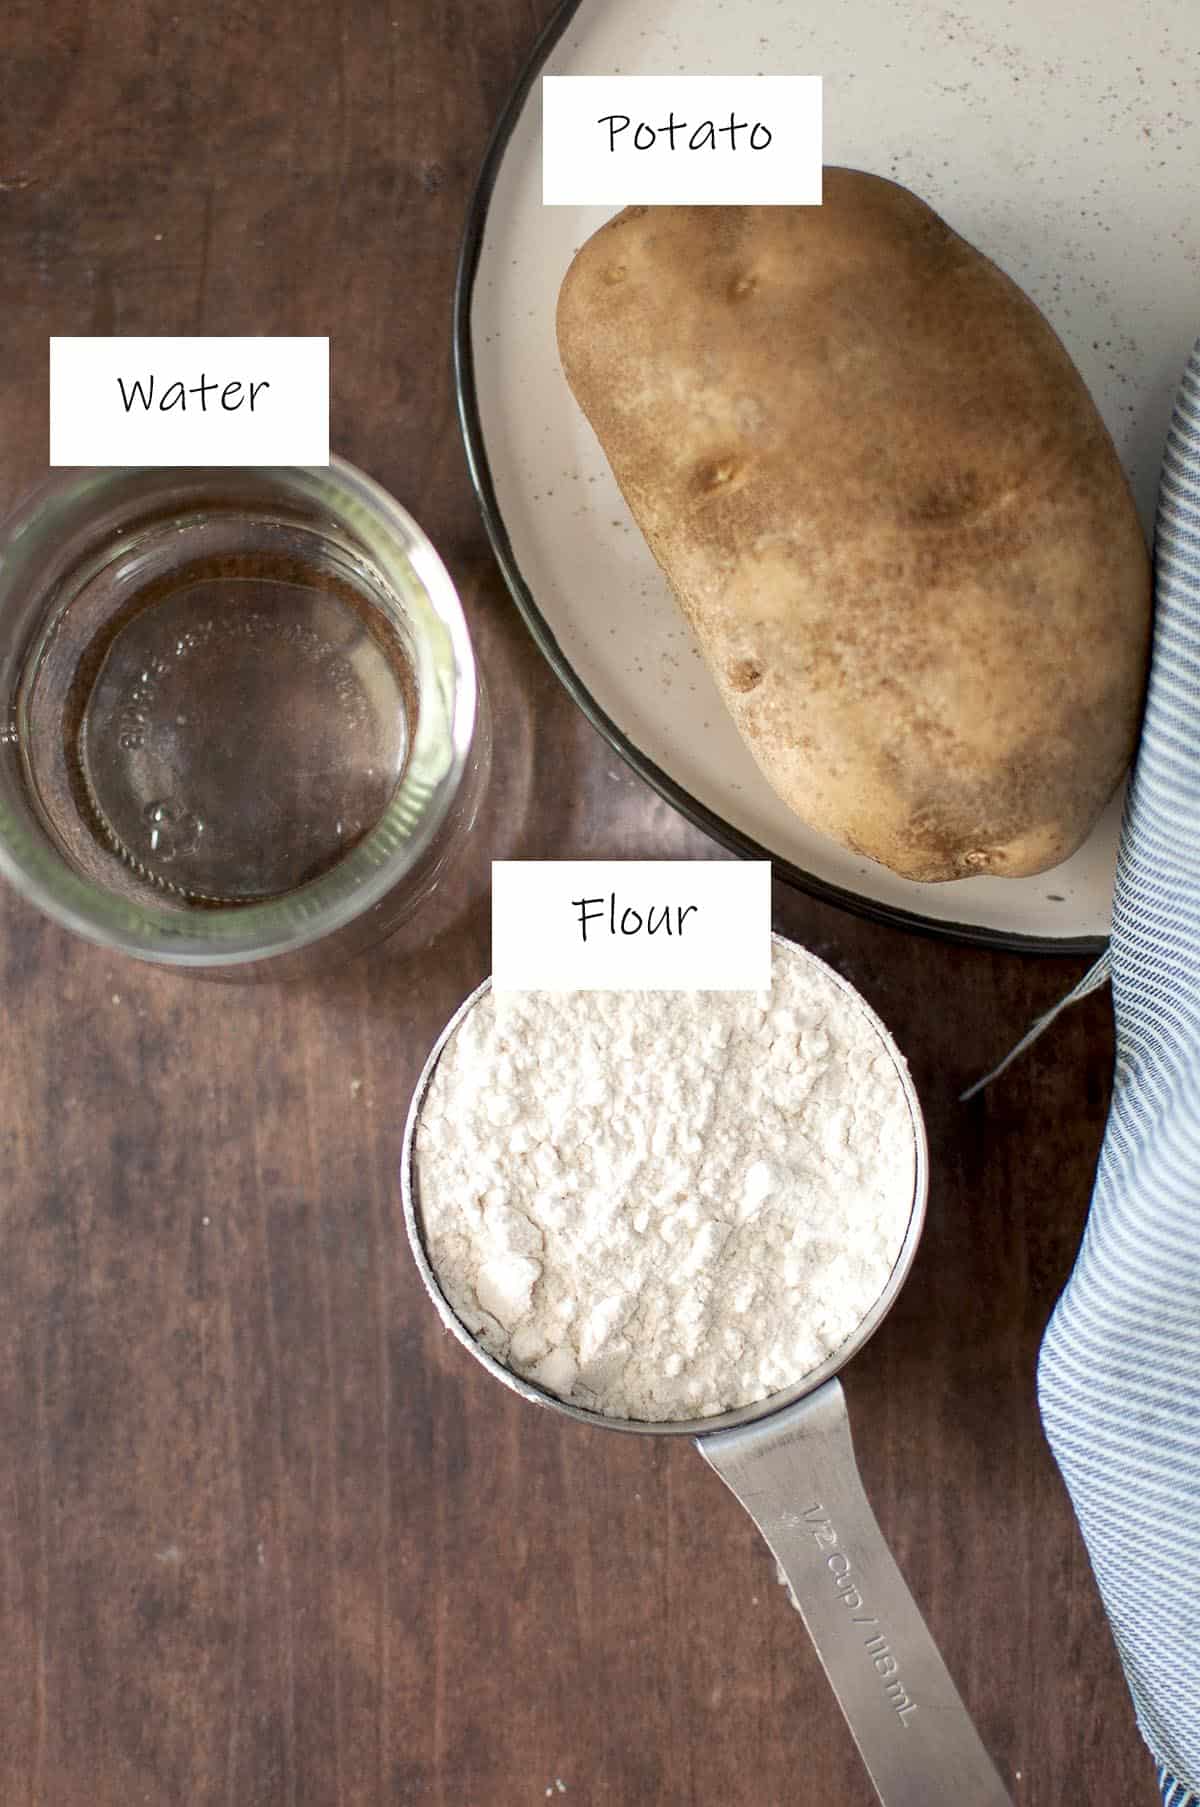
To make the sourdough starter with potato, you will need the following ingredients:
- Bread flour - you can also add some whole grain flour like whole wheat or rye. Whole grains help in making the starter active faster.
- Organic potato
- Filtered water - chlorine in water might affect the wild yeast activity, so try and use filtered water.
Instructions
For the detailed instructions on how to make the recipe with exact timings, check the printable recipe card below.
Here is how to make your own raw potato sourdough starter. It takes about 4~5 days to develop a starter that is strong enough to use for bread baking.
- Day 1: In a medium size non-reactive bowl*, combine the 1 cup bread flour, ½ cup grated potato and 1 cup filtered water. Mix well, cover and set aside at room temperature (65°F ~ 75°F) for 24 hours.
- Day 2: After 24 hours, there may or may not be any bubbles in the mixture. Either way, discard (or give it to a friend to cultivate) all but ½ cup of the starter (4 ounces) and add 1 cup bread flour & 1 cup filtered water. Stir, cover and let rise at room temperature for 24 hours.
- Day 3, 4 & 5:
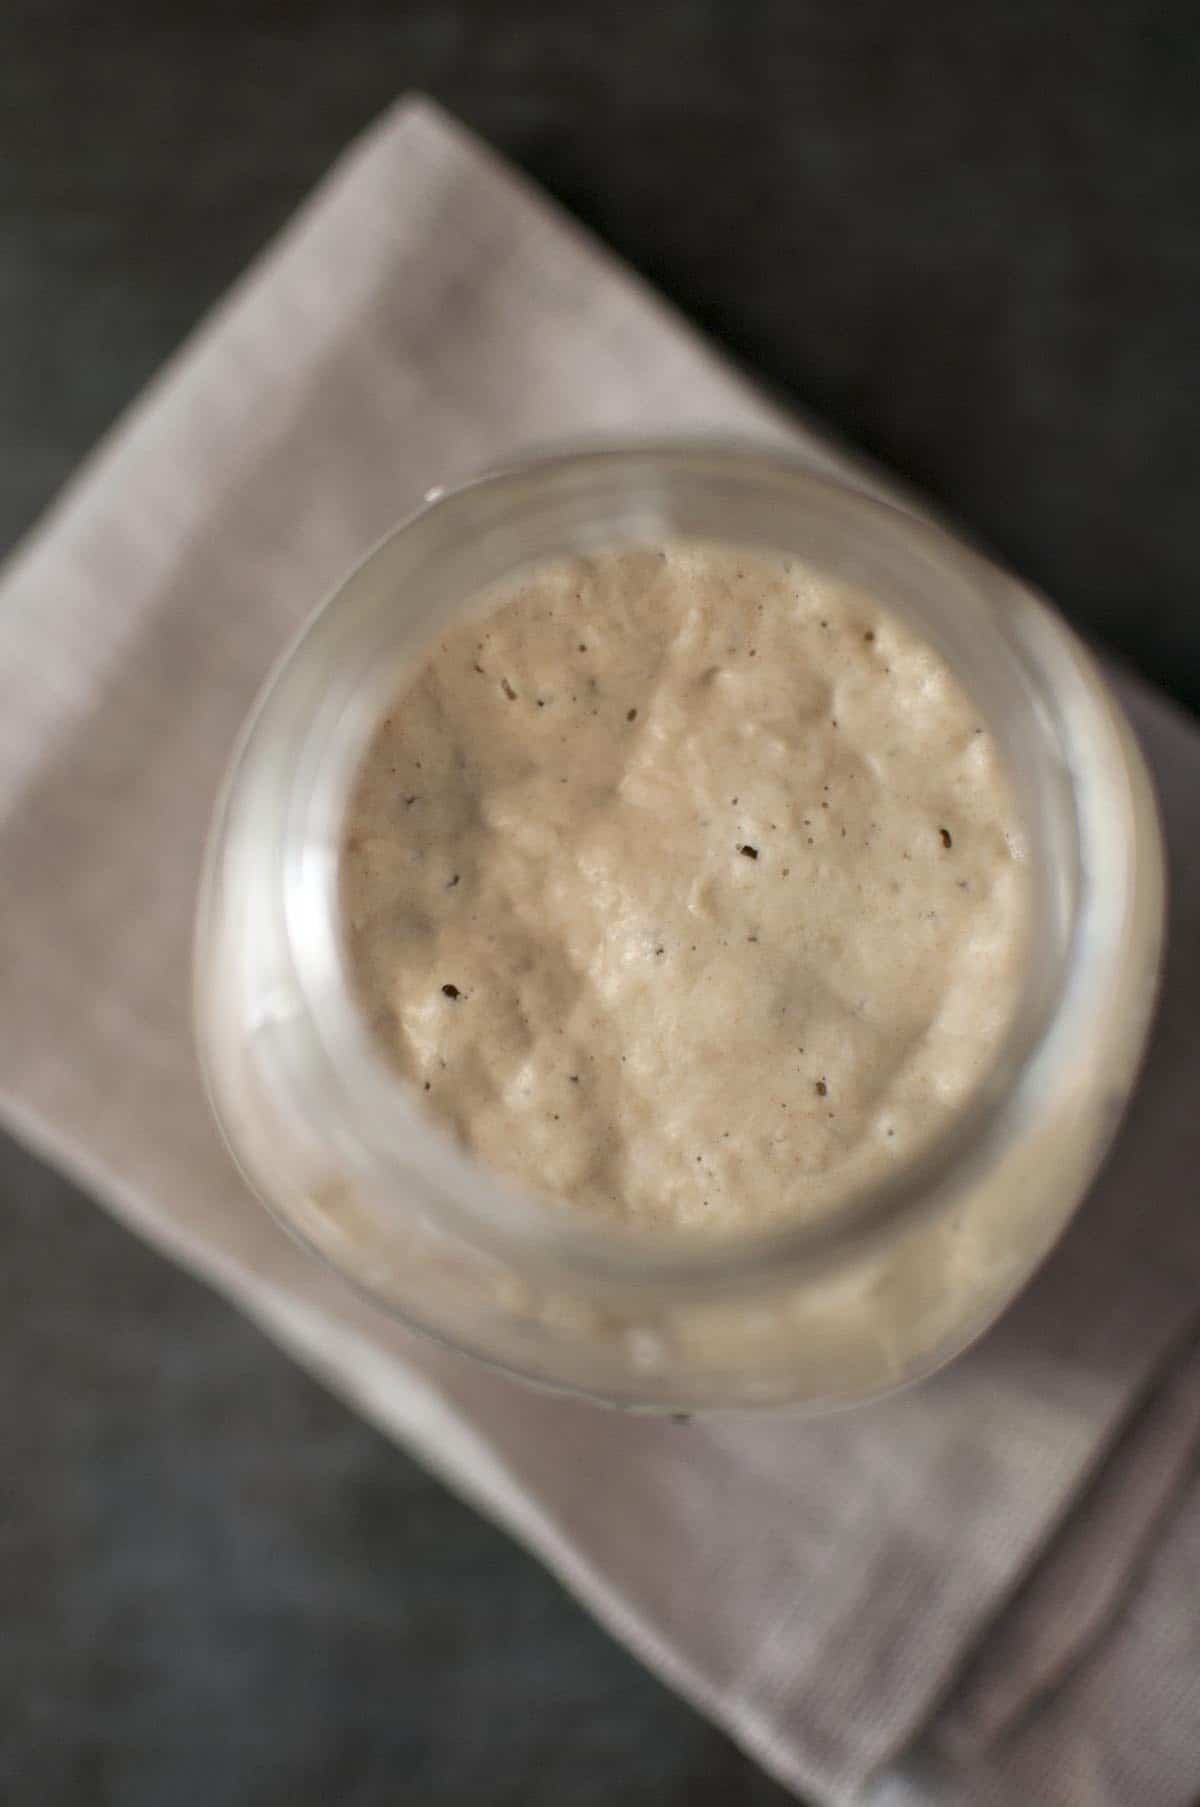
- After 24 hours, you will see small bubbles forming with some fruity aroma and some evidence of expansion. Discard all but ½ cup (4 ounces) of the starter and stir in 1 cup of bread flour and 1 cup filtered water. Mix, cover and set aside for 12 hours.
- Again discard all but ½ cup (4 ounces) of the starter and stir in 1 cup of bread flour and 1 cup filtered water. Mix, cover and set aside for 12 hours. The sourdough starter is complete at this point. But if you want a pronounced sour flavor, then continue to feed the starter for another 2 times every 12 hours.
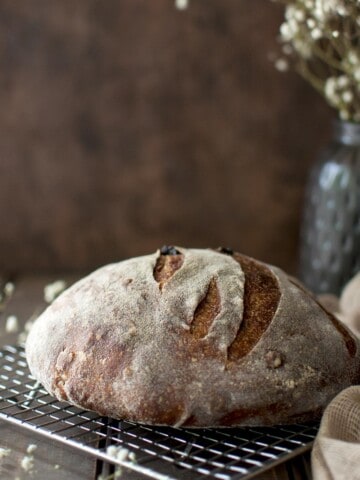
- After 4~5 days of consistent feeding, your levain should be ready to bake a basic sourdough bread. If not don't lose heart; keep feeding it regularly, and it will gain strength. Patience is a virtue here!!
The ambient temperature in your house will effect the results of your starter. So, in cold weather, you will have to wait longer to see some bubbles and action. In contrast, if you live in warmer weather, the starter might get bubbly sooner. So, make sure to keep an eye on it periodically.
How to Store & Feed the starter
Always store your sourdough starter in a non-reactive containers. Ceramic or glass mason jars are the best. Store it in a non-reactive jar either at room temperature in your kitchen* if you are a serious sourdough baker. Or if you an occasional baker like me, then keep it in the fridge.
Feed your starter whenever you plan to bake sourdough bread. Start the process the night before so you have active, bubbly starter to use in the morning.
To feed your starter, remove it from the fridge and set aside for a few minutes to take the chill off. Stir it to make sure that the hooch is incorporated. Weigh 113 grams of the starter into a small ceramic or glass jar. Discard the remaining starter*. Add 113 grams each of all purpose flour and water. Stir well to combine. Cover loosely with a plastic wrap and place in a warm place.
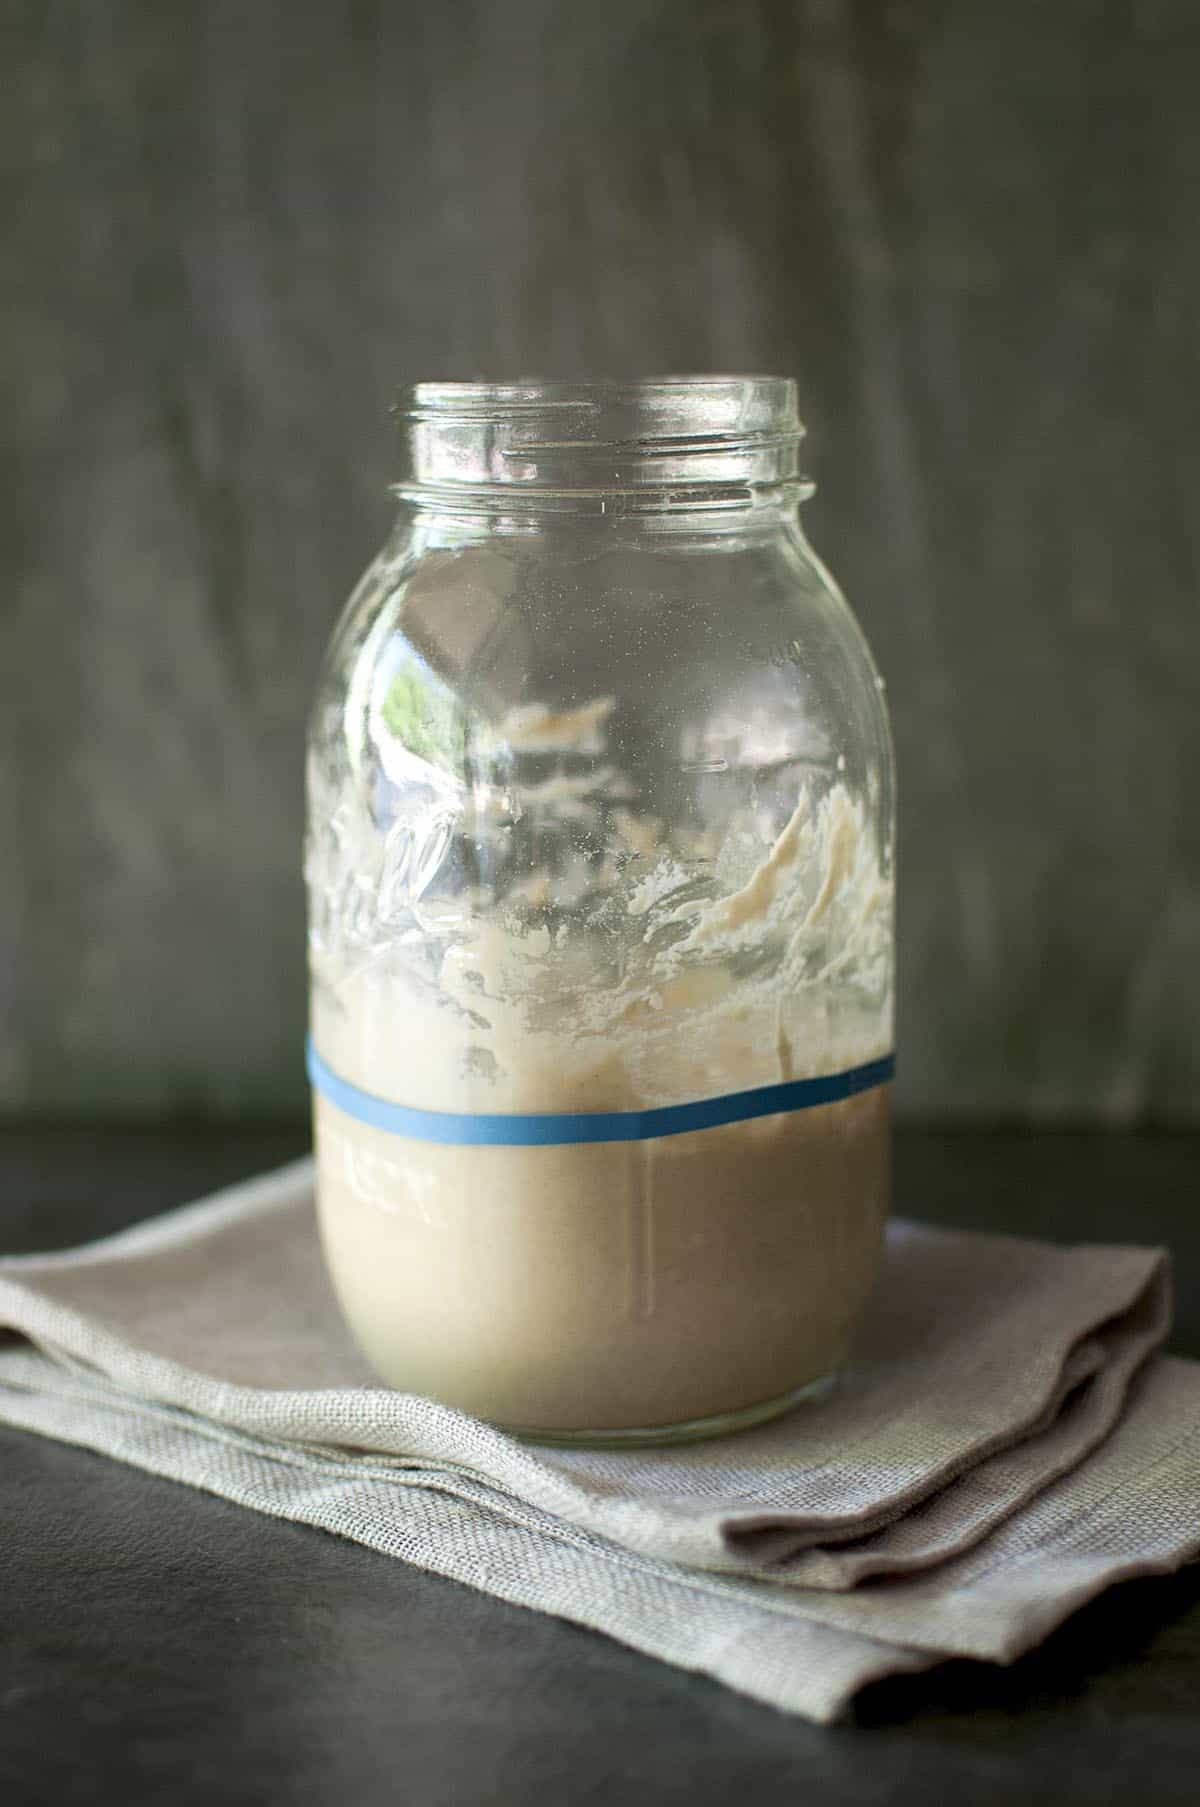
Place a rubber band on the jar to mark the top of the starter. Depending on how warm your house is, it will take about 4~6 hours for it to double in volume. Once it is bubbly and active, it is ready to be used. Or you can return it to the fridge.
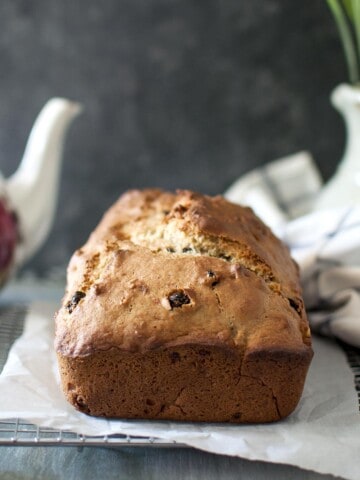
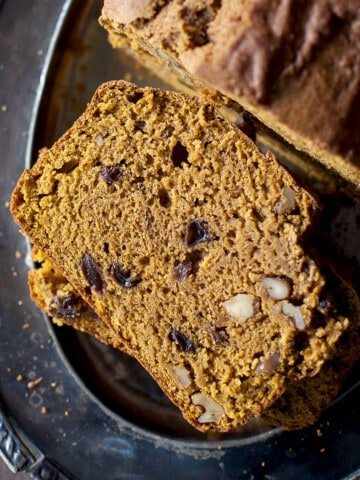
Once you have the ripe or fed starter, you are good to go on your sourdough baking spree. Use the discard to make pancakes, waffles, cakes etc.
Expert Tips
- Always use non-reactive bowls like glass, ceramic, stainless steel or food-grade plastic to make and store the sourdough starter.
- Even though my potato sourdough starter is made with bread flour, over the years I have changed it into a part whole grain starter. Here's how I did it:
- While feeding, I add 56.5 grams or ¼ cup each of all purpose and whole wheat flours along with 113 grams or ½ cup of water. Mix well and set aside for 4~6 hours.
- Sourdough discard: I usually plan to use up the discard right away by adding it to pancake or waffle batter or even to roti dough. But sometimes, I save all discard from 2~3 feedings in an airtight container in the fridge and then when I have time, I use it to make quick bread or popovers.
- Relocating with Sourdough: As I mentioned before, I relocated twice with my starter.
- The first time, we drove 500 miles to our new home, so I just took the jar in a cooler. Put it in the hotel fridge overnight and then safely put it in my new fridge at destination.
- Second time was cross country, so I dried my sourdough starter. Few days before our move, I took about 1 cup of the starter and spread it into a thin layer on parchment lined baking sheet. Let it air dry for 1~2 days. Then I broke it up into chips and stored it in a airtight glass container.
- Once we got to the new place and when I had time, I rehydrated the starter. Took 1 ounce of the dried chips and ¼ cup of lukewarm warm in a small bowl or a measuring cup. Stir occasionally to dissolve the chips. After about 3 hours, add 1 ounce of flour, mix well and set it in a warm place.
- After about 24 hours, there will be some bubbles starting to form. If your house is cooler, wait a little longer to see the bubbles. Now, without discarding any starter, add 1 ounce of lukewarm water and 1 ounce flour. Put it back in the warm place.
- Feed it again after 24 hours without discarding. Add 1 ounce lukewarm water and 1 ounce flour.
- After about 12 hours, you will have your starter back to its previous self. Now discard all but 4 ounces of starter. Add 4 ounces of flour and water. Set aside for 4~6 hours. AND you are good to go.
Frequently Asked Questions
Your sourdough starter should at least double in volume in 4~6 hours and have a nice fruity aroma.
Feeding the starter regularly improves its strength. So if you think your starter is slack or weak, then try to feed it more frequently, every 12 hours and you will see it gain strength.
Whenever you plan to bake sourdough bread. Start the process the night before so you have active, bubbly starter to use in the morning.
I usually have about 1 cup of starter at any time. If I don't plan on baking in a week, then I just feed it and return it to the fridge.
Most of the recipes call for ½~1 cup of starter, so make sure that you have at least 1 cup of starter at any given point. If you think you are running out of starter, add equal quantities of flour and water, mix well and refrigerate until you are ready to make a bread.
If the hooch or the liquid above the starter in your jar turns pink or if it has an off flavors, such as a musty or cheesy flavor.
You might also like
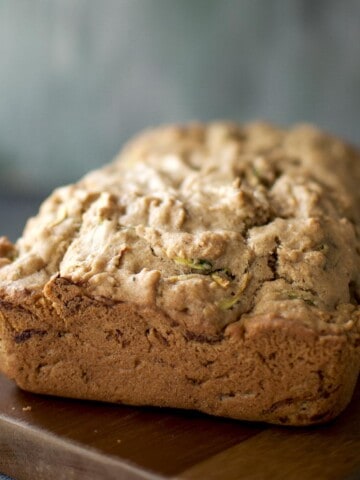
Here are a few recipes to use up your sourdough discard:


I love hearing from you!! If you’ve tried this and liked it, then don't forget to let me know. Give a star rating and let me know in the comments below. Also tag me in your creations on Instagram @cooks_hideout. I love sharing photos when people make my recipes. You can use the hashtag #cookshideout too.
Sourdough Starter with Potato
Ingredients
For Potato Starter:
- 480 grams (4 cups) Bread flour, divided
- 70 grams (½ cup) Grated Organic Potato
- 960 grams (4 cups) Water, divided
For Feeding:
- 113 grams (½ cup or 4 ounces) Sourdough Starter, from above
- 113 grams (½ cup or 4 ounces) All purpose flour*
- 113 grams (½ cup or 4 ounces) Lukewarm Water
Instructions
Day 1:
- In a medium size non-reactive bowl*, combine the 1 cup bread flour, ½ cup grated potato and 1 cup filtered water. Mix well, cover and set aside at room temperature (65°F ~ 75°F) for 24 hours.
Day 2:
- After 24 hours, there may or may not be any bubbles in the mixture. Either way, discard (or give it to a friend to cultivate) all but ½ cup of the starter (4 ounces) and add 1 cup bread flour & 1 cup filtered water. Stir, cover and let rise at room temperature for 24 hours.
Day 3, 4 & 5:
- After 24 hours, you will see small bubbles forming with some fruity aroma and some evidence of expansion. Discard all but ½ cup (4 ounces) of the starter and stir in 1 cup of bread flour and 1 cup filtered water. Mix, cover and set aside for 12 hours. Again discard all but ½ cup (4 ounces) of the starter and stir in 1 cup of bread flour and 1 cup filtered water. Mix, cover and set aside for 12 hours. The sourdough starter is complete at this point. But if you want a pronounced sour flavor, then continue to feed the starter for another 2 times every 12 hours. After 4~5 days of consistent feeding, your levain should be ready to use in a sourdough bread. If not don't lose heart; keep feeding it regularly, and it will gain strength. Patience is a virtue here!!.
- You will have about 1½ cups of sourdough starter at this point. Store it in a non-reactive jar either at room temperature (a serious sourdough baker) or in the fridge (occasional baker).
Feeding your Starter:
- To feed your starter, remove it from the fridge and set aside for a few minutes to take the chill off. Stir it to make sure that the hooch is incorporated. Weigh 113 grams of the starter into a small ceramic or glass jar. Discard the remaining starter*. Add 113 grams each of all purpose flour and water. Stir well to combine. Cover loosely with a plastic wrap and place in a warm place.Place a rubber band on the jar to mark the top of the starter. Depending on how warm your house is, it will take about 4~6 hours for it to double in volume. Once it is bubbly and active, it is ready to be used. Or you can return it to the fridge.
Notes
- Always use non-reactive bowls like glass, ceramic, stainless steel or food-grade plastic to make and store the sourdough starter.
- Even though my potato sourdough starter is made with bread flour, over the years I have changed it into a part whole grain starter. Here's how I did it:
- While feeding, I add 56.5 grams or ¼ cup each of all purpose and whole wheat flours along with 113 grams or ½ cup of water. Mix well and set aside for 4~6 hours.
- Sourdough discard: I usually plan to use up the discard right away by adding it to pancake or waffle batter or even to roti dough. But sometimes, I save all discard from 2~3 feedings in an airtight container in the fridge and then when I have time, I use it to make quick bread or popovers.
- Relocating with Sourdough: As I mentioned before, I relocated twice with my starter.
- The first time, we drove 500 miles to our new home, so I just took the jar in a cooler. Put it in the hotel fridge overnight and then safely put it in my new fridge at destination.
- Second time was cross country, so I dried my sourdough starter. Few days before our move, I took about 1 cup of the starter and spread it into a thin layer on parchment lined baking sheet. Let it air dry for 1~2 days. Then I broke it up into chips and stored it in a airtight glass container.
- Once we got to the new place and when I had time, I rehydrated the starter. Took 1 ounce of the dried chips and ¼ cup of lukewarm warm in a small bowl or a measuring cup. Stir occasionally to dissolve the chips. After about 3 hours, add 1 ounce of flour, mix well and set it in a warm place.
- After about 24 hours, there will be some bubbles starting to form. If your house is cooler, wait a little longer to see the bubbles. Now, without discarding any starter, add 1 ounce of lukewarm water and 1 ounce flour. Put it back in the warm place.
- Feed it again after 24 hours without discarding. Add 1 ounce lukewarm water and 1 ounce flour.
- After about 12 hours, you will have your starter back to its previous self. Now discard all but 4 ounces of starter. Add 4 ounces of flour and water. Set aside for 4~6 hours. AND you are good to go.

AS
Do you peel the potato or grate with the peel? Any type of potato (Idaho, Red, White) will do? What if I don't have an organic one?
cookshideout
Hi AJ, you can use any potato and peel it before grating. Happy Baking!
Sue
Hello, will the raw potato dissolved? I’m trying to understand how the raw potatoes will break down and dissolved when using in the creation of the starter.
Sue
cookshideout
Hi Sue, grated potato being mainly carb & starch will slowly dissolve into the starter. Hope this answers your question. Happy Baking!
Kimberly Oliver
Hi—I’m wondering if I use Bob’s gluten free all purpose flour and half Teff, once the sourdough starter has built 2-3 days of strength—will it actually work as a sourdough starter(?) OR should I purchase a gluten free sourdough starter instead(?) I’m doing this because someone I’m feeding an Ethiopian meal to is gluten intolerant.
Thank you,
Kimberly
cookshideout
Hi Kimberly, I have not worked with gluten free sourdough, so I am unsure how that works. If you are looking for a quicker way to make Injera, then try my other 'Quick Injera recipe': https://www.cookshideout.com/quick-ethiopian-flatbread-injera-style-recipe
Substitute the all purpose flour with gluten free flour. Hope this helps.
Happy Cooking,
Pavani
Kat
Is the potatoe sourdough starter thin than other sourdough starter?
cookshideout
Hi Kat, potato starter should look similar to regular starter - not too thin. Drain/ discard some of the liquid that settles on top of the starter before feeding - then continue with the feeding - mix and add more flour. Happy Baking! Pavani
Jeff Vaughn
Starter turned black on the surface the first morning after I began it.
cookshideout
Slightly darker liquid on top of the starter is normal, but if it smelling funky and liquid looks 'pink', then you will have to discard it. Hope this helps.
Diane Davis
I had a potato starter years ago and was wanting to get back to that. I always fed with potato flakes. I understand that you made the first batch with a potato. But never used any potato again. Doesn’t that eventually make it a flour starter.? In my mind, the potato part will get diluted enough to where it’s no longer a potato starter. Can it be fed with either flakes or another potato?